EN
EN
 English
 Español
 عربى
عربىContent
- 1 Understanding Amplifier Classes: Which Type Is Right for Your Build?
- 2 Power Ratings: What the Numbers Actually Mean
- 3 Channel Configuration and Amplifier Types for High Power Systems
- 4 Impedance Matching: Getting the Most Power Safely
- 5 Electrical System Requirements for High Power Amplifiers
- 6 Gain Setting, Crossover Configuration, and Signal Processing
- 7 Installation Location, Ventilation, and Thermal Management
A high power car amplifier is the foundation of any serious automotive audio system. Without adequate amplification, even the best speakers and subwoofers will underperform — driven by the modest output of a factory head unit, they cannot reach their potential in terms of volume, dynamics, or bass extension. A dedicated high power car amplifier takes the low-level signal from your head unit and boosts it to a level that can drive speakers and subwoofers to their full rated power, delivering the impact, clarity, and dynamic range that transforms a car audio system from background noise to an immersive listening experience. But choosing, installing, and configuring a high power amplifier correctly requires understanding several interconnected technical concepts — amplifier classes, power ratings, channel configuration, impedance matching, and electrical system requirements — that this guide addresses with the practical detail needed to make confident decisions.
Understanding Amplifier Classes: Which Type Is Right for Your Build?
Car amplifiers are categorized by their operating class, which describes the topology of the output stage transistors and determines the efficiency, sound quality characteristics, and heat generation of the amplifier. For high power applications, the choice of amplifier class has significant practical consequences for installation — particularly regarding cooling requirements and electrical system load.
Class AB Amplifiers
Class AB is the traditional amplifier topology used in most full-range car amplifiers and many dedicated subwoofer amplifiers. In a Class AB design, the output transistors operate in a partially on state even when no signal is present, which creates a crossover region where both the positive and negative output transistors are conducting simultaneously. This overlap eliminates the crossover distortion that plagues Class B amplifiers while maintaining reasonable efficiency — typically 50–70% at full power. Class AB amplifiers are valued for their sound quality, particularly in the midrange and treble frequencies where transient response and harmonic character are most audible. For high power full-range amplifiers driving component speaker systems, Class AB remains the preferred topology among serious car audio enthusiasts who prioritize sound quality over efficiency.
Class D Amplifiers
Class D amplifiers use a switching output stage that operates the output transistors in a fully on or fully off state rather than in a linear region. This switching topology achieves efficiencies of 80–90% or higher, generating significantly less heat than Class AB designs at the same output power level. The practical consequence is that high power Class D amplifiers can be built in much more compact enclosures — a 2,000-watt Class D monoblock subwoofer amplifier might occupy half the space and draw significantly less current from the electrical system than an equivalent Class AB design. Modern Class D amplifiers, particularly those using advanced PWM control and high-quality output filter design, have largely closed the perceived sound quality gap with Class AB at bass frequencies, making them the dominant choice for subwoofer amplification in contemporary high power car audio systems.
Class H and Class G Amplifiers
Class H and Class G amplifiers are variants of Class AB that improve efficiency by modulating the supply voltage to the output stage based on the instantaneous signal level — supplying a lower rail voltage for quiet passages and switching to a higher rail voltage for loud transients. This supply tracking reduces the power dissipated as heat in the output transistors during lower-level operation. Class H amplifiers are found in some premium full-range car audio amplifiers and offer a useful middle ground between the efficiency of Class D and the linear sound character of Class AB, though they are less common than either in the high power car audio market.
Power Ratings: What the Numbers Actually Mean
Power ratings for car amplifiers are among the most frequently misunderstood and misrepresented specifications in the consumer electronics market. Understanding the difference between RMS power, peak power, and the conditions under which ratings are measured is essential for comparing amplifiers accurately and ensuring that the amplifier you select will actually drive your speakers to their rated power.
RMS (root mean square) power is the continuous power output that an amplifier can deliver sustained over time without distortion exceeding a specified threshold — typically 1% Total Harmonic Distortion (THD). RMS power is the only specification that meaningfully predicts real-world performance, as it represents what the amplifier produces during actual music playback. Peak power — sometimes labeled as "max power" or "PMPO power" by less scrupulous manufacturers — represents the absolute maximum instantaneous power the amplifier can produce for a brief moment, typically under idealized conditions that never exist in actual use. Peak power figures are often 2–4 times the RMS power figure and should be ignored entirely when comparing amplifiers.
CEA-2006 is the industry standard established by the Consumer Electronics Association that defines how car amplifier power should be measured and reported. An amplifier rated to CEA-2006 standard specifies its RMS power output at a defined load impedance (typically 4 ohms and 2 ohms), a defined supply voltage (14.4V, representing a running vehicle electrical system), and a defined distortion limit (1% THD+N). When comparing amplifiers, look for CEA-2006 compliance or ask the manufacturer to confirm that their ratings are measured at 14.4V supply voltage and 1% THD — these conditions are the closest to real-world installation conditions.
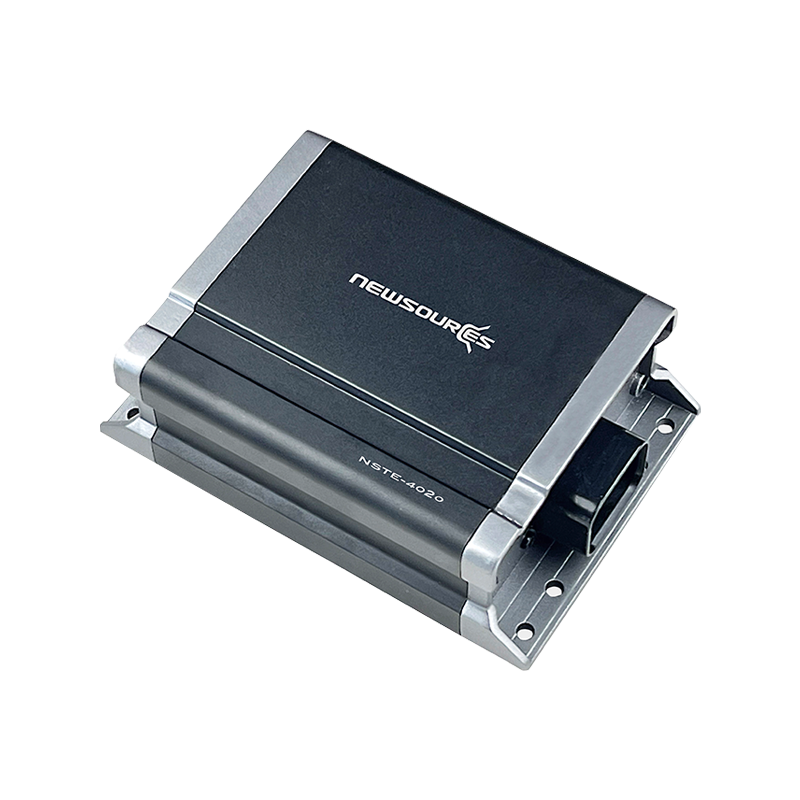
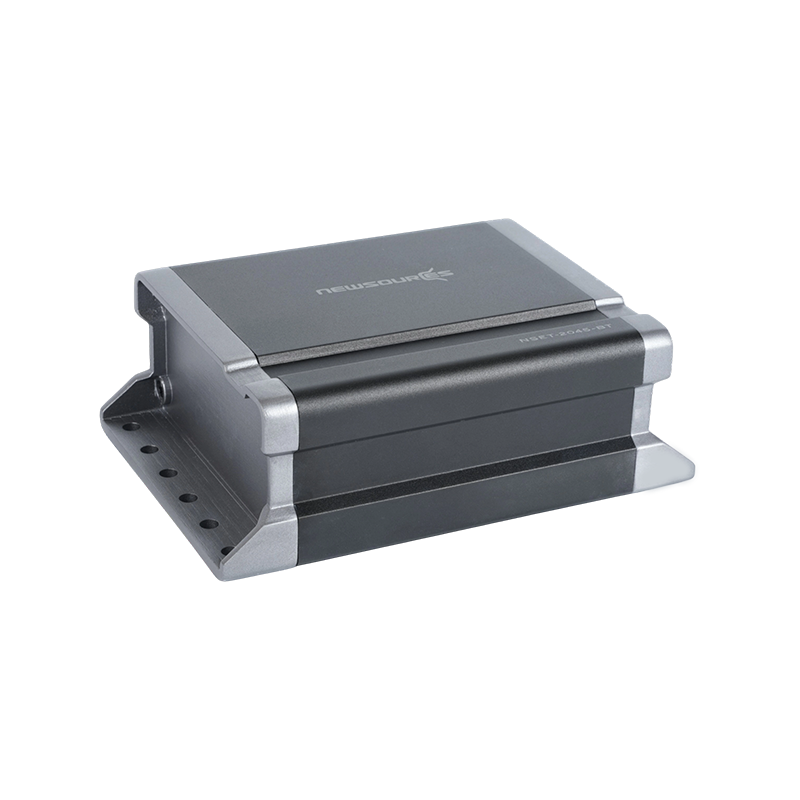
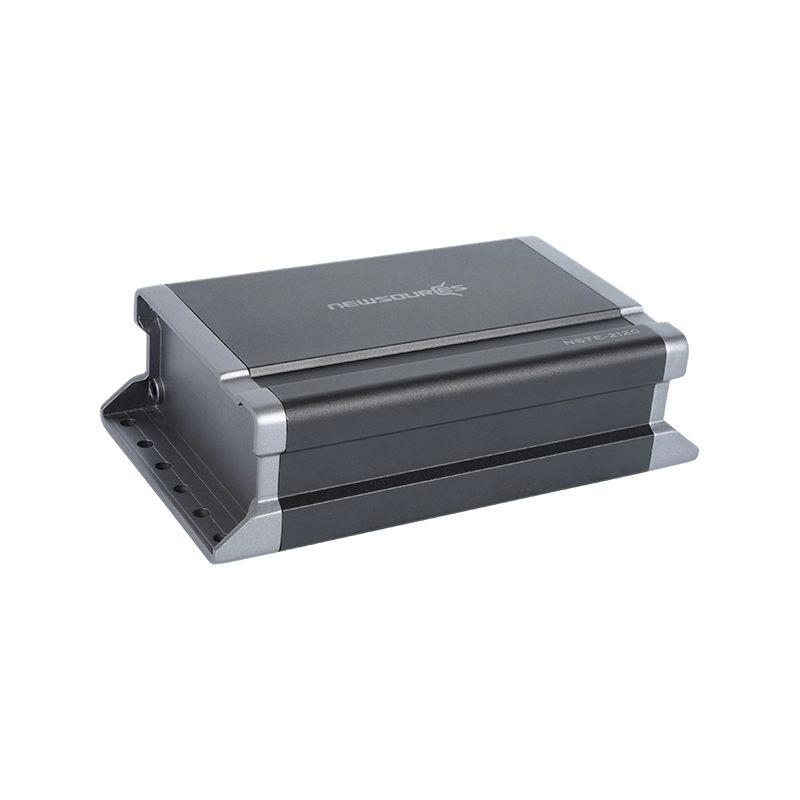
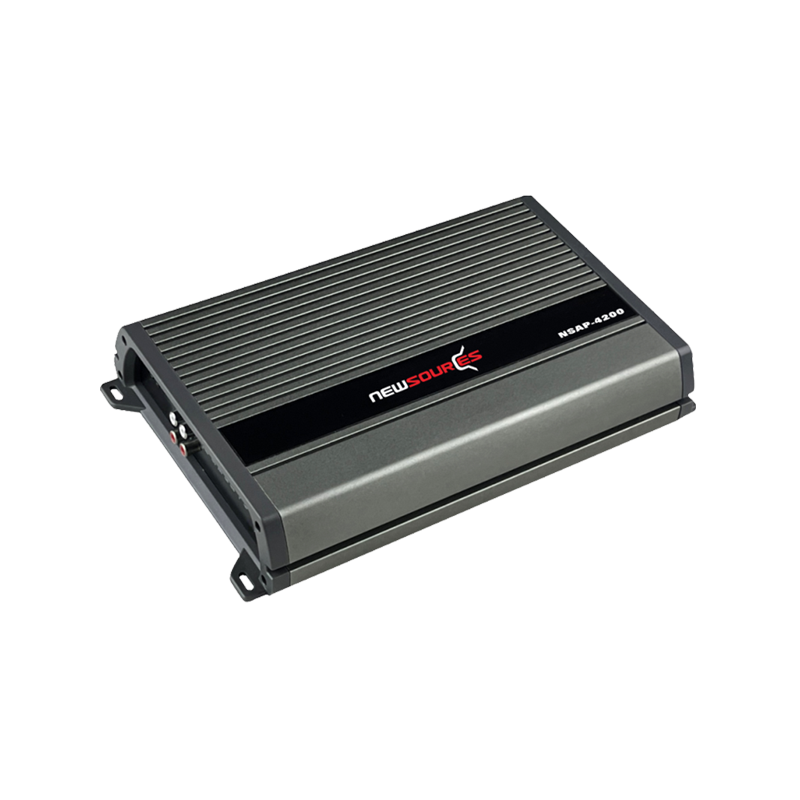
Channel Configuration and Amplifier Types for High Power Systems
High power car amplifiers are available in several channel configurations, each suited to different system architectures. Selecting the right channel count and configuration for your intended speaker setup avoids the expense and complexity of using more amplifiers than necessary while ensuring each speaker or subwoofer receives appropriate power.
| Amplifier Type | Channels | Typical Power Range | Best Application |
| Monoblock | 1 | 500W – 5,000W RMS | Dedicated subwoofer amplification |
| 2-Channel | 2 | 100W – 1,000W RMS per channel | Front or rear component speakers; bridged subwoofer |
| 4-Channel | 4 | 75W – 400W RMS per channel | Full front and rear speaker system |
| 5-Channel | 4 + 1 | 75W × 4 + 500W × 1 (typical) | Complete system in one amplifier |
| 6-Channel | 6 | 75W – 200W RMS per channel | 3-way active speaker systems |
Bridging — combining two channels of a multi-channel amplifier to drive a single load at higher power — is a common technique for extracting subwoofer power from a 2-channel or 4-channel amplifier. When bridged, the two channels work together to deliver roughly double the per-channel power into a single speaker or subwoofer. However, bridging halves the minimum safe impedance — an amplifier stable at 2 ohms per channel must not be bridged into a load below 4 ohms. Attempting to bridge an amplifier into too low an impedance causes severe thermal stress and can destroy the output stage within minutes.
Impedance Matching: Getting the Most Power Safely
Impedance — measured in ohms — is the electrical resistance that a speaker or subwoofer presents to the amplifier output. Most car speakers are nominally 4-ohm loads, though they may dip to 3 ohms or lower at certain frequencies. Subwoofers are commonly available at 4-ohm, 2-ohm, and 1-ohm nominal impedances, and dual voice coil (DVC) subwoofers can be wired in series (doubling the impedance) or parallel (halving the impedance) to achieve a range of final impedances.
Most high power car amplifiers produce more power at lower impedances — a monoblock amplifier rated at 500W RMS at 4 ohms might produce 1,000W RMS at 2 ohms and 2,000W RMS at 1 ohm, assuming the amplifier is stable at those impedances. However, lower impedance loads draw more current from the amplifier and generate more heat. Manufacturers specify a minimum stable impedance below which the amplifier's thermal protection and current limiting circuits will activate, and operating below the minimum rated impedance risks damage. Always match speaker or subwoofer wiring configurations to the amplifier's rated impedance range — never attempt to drive a load below the minimum specified impedance even if the amplifier technically produces more power at that load.
Electrical System Requirements for High Power Amplifiers
A high power car amplifier draws substantial current from the vehicle's 12V electrical system, and failing to upgrade the electrical system to support this current demand is one of the most common causes of poor performance, voltage sag, and electrical component damage in high power car audio installations. The electrical system upgrade requirements scale directly with the total amplifier power.
As a general rule, every 1,000 watts of amplifier RMS power requires approximately 100 amperes of additional current supply capacity from the electrical system. A 2,000-watt system therefore needs approximately 200 amperes of additional current capacity beyond the vehicle's standard electrical load. This current demand requires upgrades to three key elements: the power wire from the battery to the amplifier, the ground wire from the amplifier chassis to the vehicle chassis, and in most high power installations, an upgraded alternator and additional battery capacity.
- Power and ground wiring: Use OFC (oxygen-free copper) cable sized to carry the full current demand without excessive voltage drop. For a 1,000W amplifier, 4 AWG power and ground cable is the minimum. For 2,000W and above, 1/0 AWG (pronounced "one-ought") or 2/0 AWG cable is required. Short ground cable runs to a solid chassis ground point are critical — a poor ground connection is one of the most common causes of amplifier noise and instability.
- Inline fuse protection: Install an inline fuse or circuit breaker in the power cable within 18 inches (45 cm) of the battery. The fuse rating should match or slightly exceed the amplifier's maximum current draw — typically specified in the amplifier's installation manual. This fuse protects the power cable from fire in the event of a short circuit.
- Capacitor or secondary battery: A large-format electrolytic capacitor (1 farad per 1,000 watts of amplifier power is the general guideline) mounted near the amplifier stabilizes the voltage supplied to the amplifier during bass transients, preventing the brief voltage sags that cause the headlights to dim in time with the music — a common symptom of an underpowered electrical system. For very high power systems (3,000W and above), a dedicated secondary AGM or lithium battery mounted in the trunk provides sustained current capacity during extended high-power operation.
Gain Setting, Crossover Configuration, and Signal Processing
Properly setting the gain (sensitivity) control on a high power amplifier is essential for achieving maximum clean output without distortion, and it is one of the most consistently mishandled aspects of car audio installation. The gain control on an amplifier does not set the volume — it sets the input sensitivity, matching the amplifier's input level to the output level of the head unit. Setting gain too high causes the amplifier to clip (distort) before the head unit reaches its maximum volume, producing harsh, distorted sound and potentially damaging speakers. Setting gain too low wastes the amplifier's available power and produces a quiet, compressed sound.
The correct gain setting procedure involves playing a test tone (typically a 0 dB 1 kHz sine wave from a test CD or audio file) at approximately 80% of the head unit's maximum volume — the level at which most head units begin to produce measurable distortion — and adjusting the amplifier gain until the amplifier's clip indicator just begins to illuminate, then backing off slightly. This procedure, called "gain matching by ear and indicator," ensures the amplifier clips at the same point as the head unit, maximizing clean dynamic range throughout the volume range.
High power car amplifiers typically include built-in low-pass filters (for subwoofer channels), high-pass filters (for full-range channels), subsonic filters (to protect subwoofers from infrasonic frequencies that consume power without producing audible bass), and bass boost controls. For subwoofer applications, set the low-pass filter between 60–80 Hz for music systems prioritizing tight, accurate bass, or up to 100–120 Hz for systems where bass impact is prioritized over accuracy. Enable the subsonic filter for ported subwoofer enclosures, typically set between 25–35 Hz, to prevent the woofer from over-excursing at frequencies where the port provides insufficient damping.
Installation Location, Ventilation, and Thermal Management
High power amplifiers generate significant heat during operation — Class AB amplifiers especially so — and inadequate ventilation is a leading cause of thermal protection activation, premature component failure, and reduced output power. The installation location must provide adequate airflow across the amplifier's heatsink fins, and the amplifier must not be enclosed in a sealed compartment without forced-air cooling.
Common installation locations for high power amplifiers include under the seats (practical for smaller Class D amplifiers where the seat provides some protection from incidental contact), in the trunk floor (the most common location for large amplifiers, providing access to short cable runs to subwoofers and reasonable ventilation), and on vertical surfaces such as the rear of the rear seat or the sidewalls of a custom enclosure. Regardless of location, mount the amplifier with its heatsink fins oriented vertically to maximize natural convection cooling, and ensure at least 5 cm of clearance above and below the fins for airflow. For installations in sealed enclosures or where ambient temperature is high, add a 12V cooling fan that activates with the amplifier's remote turn-on signal.