EN
EN
 English
 Español
 عربى
عربىContent
- 1 How Car Amplifiers Improve Sound Quality Over Factory Systems
- 2 Understanding Amplifier Classes
- 3 Channel Configurations and What They're Used For
- 4 Matching Amplifier Power to Your Speakers and Subwoofers
- 5 RMS Power vs Peak Power: Reading Spec Sheets Correctly
- 6 Wiring Gauge and Electrical Considerations for Installation
- 7 Common Installation Mistakes to Avoid
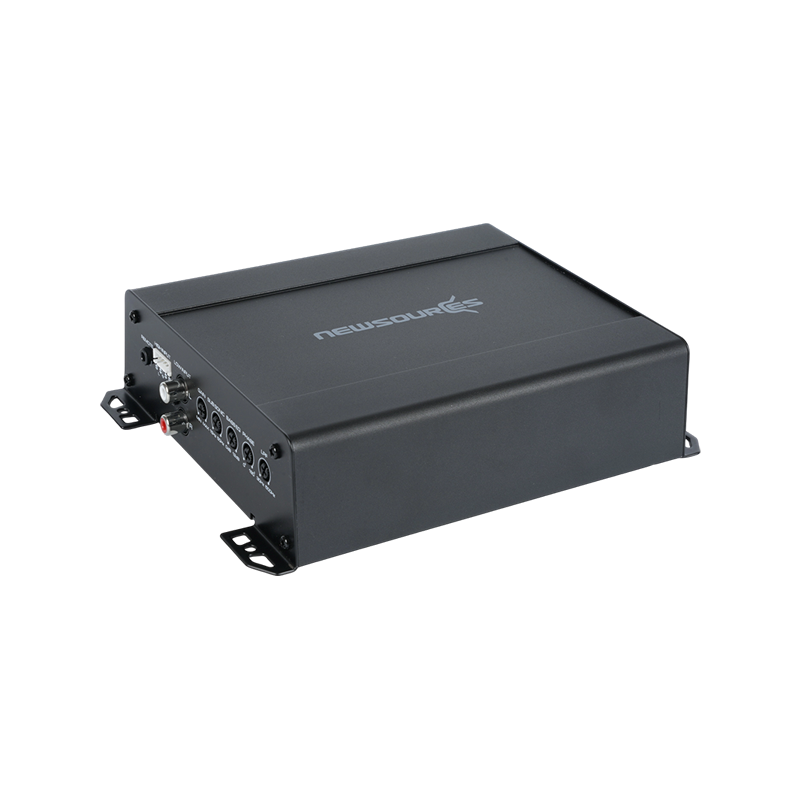
How Car Amplifiers Improve Sound Quality Over Factory Systems
A factory car stereo system typically relies on a low-power head unit to drive the speakers directly, which limits both volume and clarity once the system is pushed beyond moderate listening levels. A dedicated car amplifier takes a low-voltage signal from the head unit and boosts it to a level strong enough to drive speakers and subwoofers cleanly, without the distortion that occurs when a factory unit is forced to work beyond its design limits. This is why even a modest aftermarket amplifier paired with quality speakers often outperforms a much more expensive factory-installed system that lacks dedicated amplification.
Beyond raw volume, amplifiers also improve sound accuracy because they are built with cleaner power supplies and more headroom than the small amplification circuits built into a head unit. This headroom allows the audio signal to maintain its dynamic range during loud passages, such as bass drops or orchestral swells, rather than flattening out and sounding distorted the way an underpowered system often does.
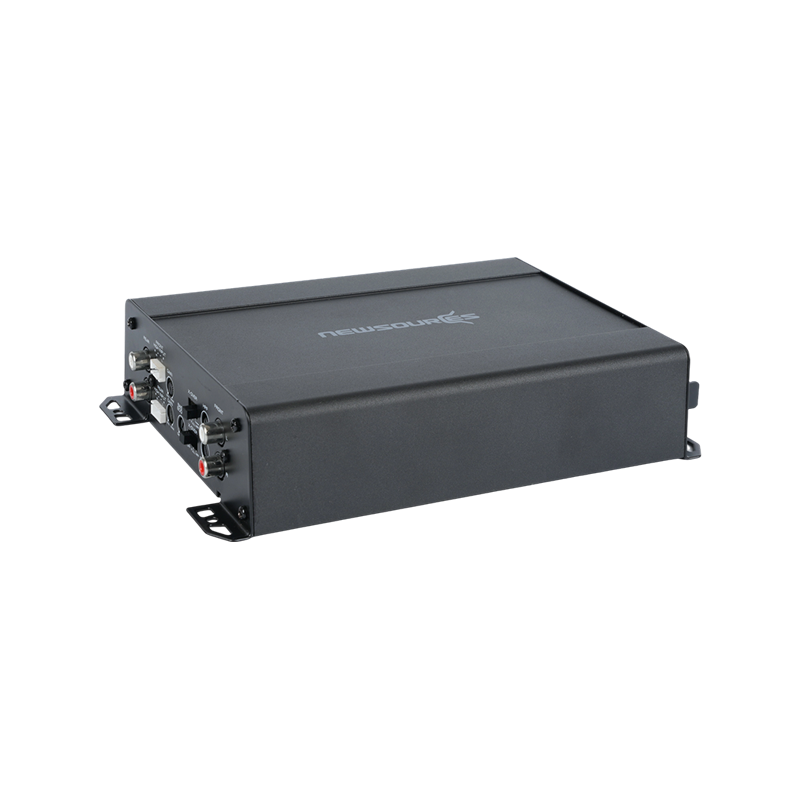
Understanding Amplifier Classes
Car amplifiers are categorized by their internal circuit design, commonly referred to as a class, and this classification has a direct impact on efficiency, heat output, and sound characteristics. Knowing the difference helps buyers choose an amplifier suited to their specific use case rather than picking based on price alone.
Class A/B Amplifiers
Class A/B amplifiers are known for producing a warm, accurate sound signature that many audiophiles prefer for full-range speaker setups, particularly for mids and highs where tonal detail matters most. The tradeoff is that Class A/B designs are less efficient, converting more input power into heat rather than usable output, which means they generally require larger heat sinks and more careful installation in well-ventilated areas of the vehicle.
Class D Amplifiers
Class D amplifiers use a switching design that delivers significantly higher efficiency, often above 80 percent, compared to the 50 to 60 percent typical of Class A/B units. This efficiency translates into less heat generation and a smaller physical footprint, which is why nearly all dedicated subwoofer amplifiers on the market today use Class D circuitry. Modern Class D designs have also closed much of the sound quality gap that once existed compared to Class A/B, making them a practical choice even for full-range applications in space-constrained vehicles.
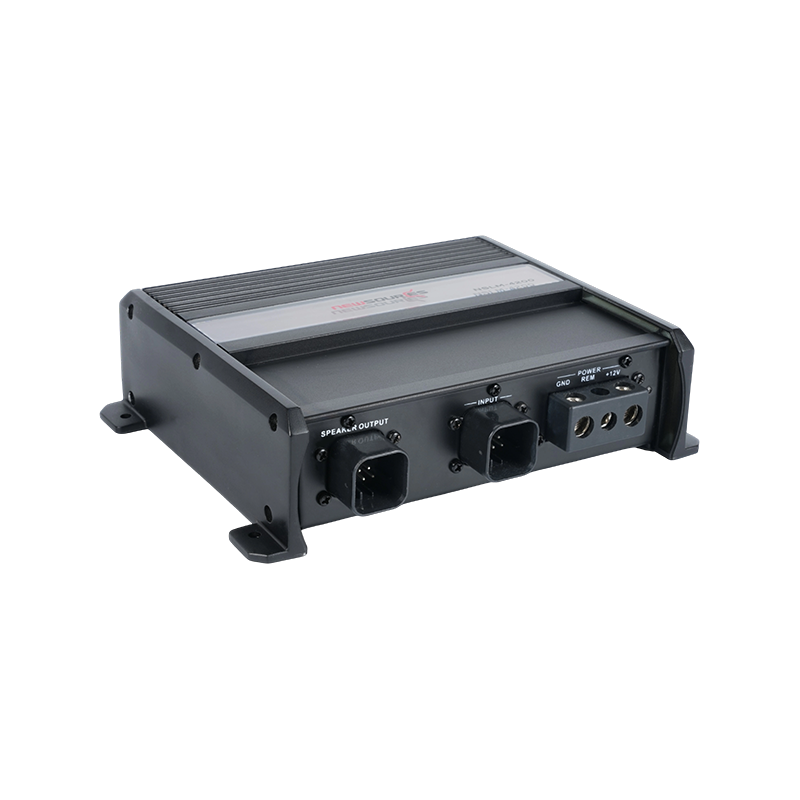
Channel Configurations and What They're Used For
Amplifiers are also categorized by the number of channels they offer, and matching the channel count to the intended speaker setup avoids both wasted capacity and underpowered components. A mono-channel amplifier is designed specifically to drive a single subwoofer or a pair of subwoofers wired together, since bass frequencies do not require stereo separation. Two-channel amplifiers are commonly used to power a pair of front or rear speakers, or in some setups, to drive a single subwoofer using a bridged configuration that combines both channels into one higher-power output.
- Mono-channel amplifiers are built specifically for subwoofers and are not suited to driving standard speakers.
- Two-channel amplifiers work well for a single pair of speakers or a bridged subwoofer connection.
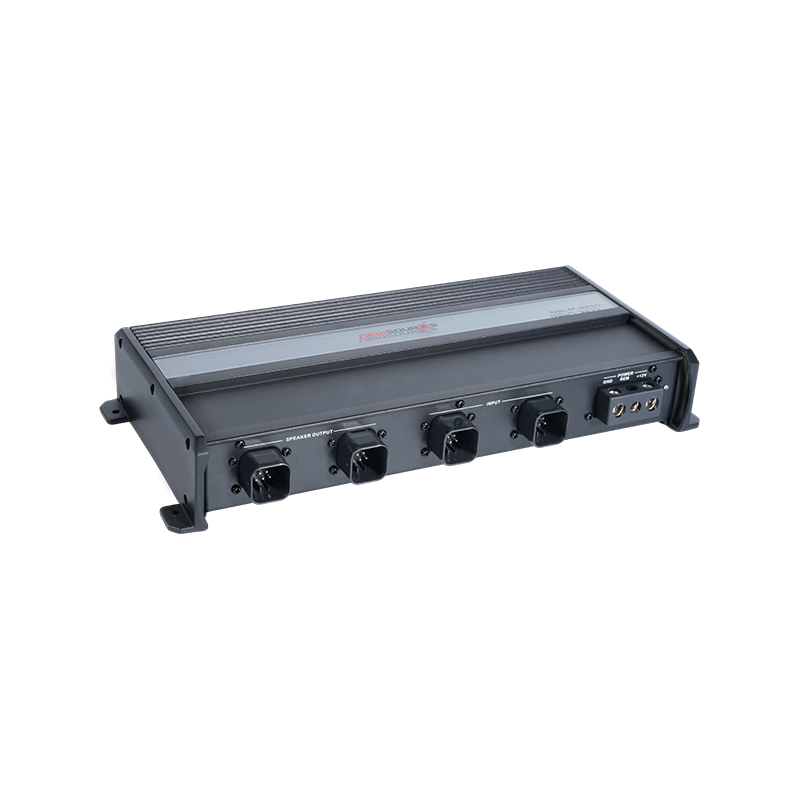
- Four-channel amplifiers can power a full set of front and rear speakers, or two channels for speakers and two bridged for a subwoofer.
- Five-channel amplifiers combine four channels for speakers with a dedicated higher-power channel built in for a subwoofer, simplifying wiring in all-in-one builds.
Matching Amplifier Power to Your Speakers and Subwoofers
Pairing an amplifier with speakers or a subwoofer that cannot handle its output, or that are significantly underpowered for the amplifier, both lead to poor results. Speakers driven by too little power tend to distort at moderate volumes as the amplifier clips trying to keep up with demand, while speakers driven by excessive power without careful gain adjustment risk physical damage to the voice coil. A general guideline is to select an amplifier whose RMS output per channel falls within the speaker's rated RMS power handling, ideally not exceeding it by more than around 20 percent to allow some headroom without risking damage.
| Component Type | Typical RMS Power Range | Recommended Amplifier Match |
| Door Speakers (6.5 inch) | 40 to 80 watts | 2 or 4-channel, 50 to 100 watts per channel |
| Component Tweeters | 20 to 40 watts | Shared channel with mids, crossover required |
| 10-inch Subwoofer | 200 to 400 watts | Mono amplifier, 250 to 500 watts |
| 12-inch Subwoofer | 300 to 600 watts | Mono amplifier, 400 to 700 watts |
RMS Power vs Peak Power: Reading Spec Sheets Correctly
RMS power, which stands for root mean square, represents the continuous power output an amplifier or speaker can handle reliably over sustained use, and it is the figure that should guide any real-world purchasing decision. Peak power, sometimes labeled as maximum power, refers to a short burst output the component can survive briefly, and manufacturers often list this larger number prominently in marketing materials because it appears more impressive on a retail box. Comparing two amplifiers using their peak power ratings rather than RMS ratings frequently leads to mismatched expectations, since the actual sustained performance can differ significantly between products marketed with similar peak numbers.
When comparing amplifiers, it is worth confirming that the RMS rating was tested at a consistent voltage, typically 14.4 volts to simulate a running engine's electrical system, since some manufacturers test at the less realistic 12-volt battery resting voltage to inflate their published numbers.
Wiring Gauge and Electrical Considerations for Installation
Power wire gauge needs to match the amplifier's current draw, since undersized wiring causes voltage drop that reduces output and can generate excessive heat along the cable run. As a general guideline, amplifiers drawing up to roughly 60 amps typically need 8-gauge wire, while higher-powered systems drawing over 80 amps generally require 4-gauge or even 1/0-gauge wire for longer cable runs from the battery to the amplifier location. Ground connections deserve equal attention to the power wire, since a poor or corroded ground point is one of the most common causes of amplifier noise, clipping, or intermittent shutdown under heavy bass demand.
A properly sized fuse should always be installed within 18 inches of the battery connection on the power wire, sized according to the amplifier manufacturer's recommendation, since this fuse protects the vehicle's electrical system in the event of a short circuit along the cable run rather than protecting the amplifier itself.
Common Installation Mistakes to Avoid
Setting the amplifier's gain control incorrectly is one of the most frequent mistakes among first-time installers, since gain is often mistaken for a volume control when it actually adjusts how much input signal the amplifier needs before reaching full output. Setting gain too high relative to the head unit's output causes clipping and distortion well before the volume knob reaches maximum, while setting it too low wastes the amplifier's available power and forces the system to sound weaker than its rated specifications suggest. Using an oscilloscope or a dedicated gain-setting tool during installation produces far more accurate results than adjusting by ear alone.
Mounting the amplifier in a location with poor airflow, such as tightly packed under a seat with carpet covering the heat sink, can lead to thermal shutdown during extended high-volume use, even if the amplifier is correctly matched to the speaker load. Leaving adequate clearance around the amplifier's heat sink and avoiding direct exposure to trunk carpeting or insulation helps maintain consistent performance during longer listening sessions.