
 EN
EN
 English
 Español
 عربى
عربىContent
- 1 What Is a Mini Car Amplifier and Why Does Size Matter
- 2 How Mini Car Amplifiers Work: Class D Technology Explained
- 3 Common Channel Configurations and What Each Is Best For
- 4 Key Specifications to Evaluate Before Buying
- 5 Installation Essentials for Mini Car Amplifiers
- 6 Best Use Scenarios: Matching a Mini Amplifier to Your System Goals
- 7 Common Problems and How to Diagnose Them
What Is a Mini Car Amplifier and Why Does Size Matter
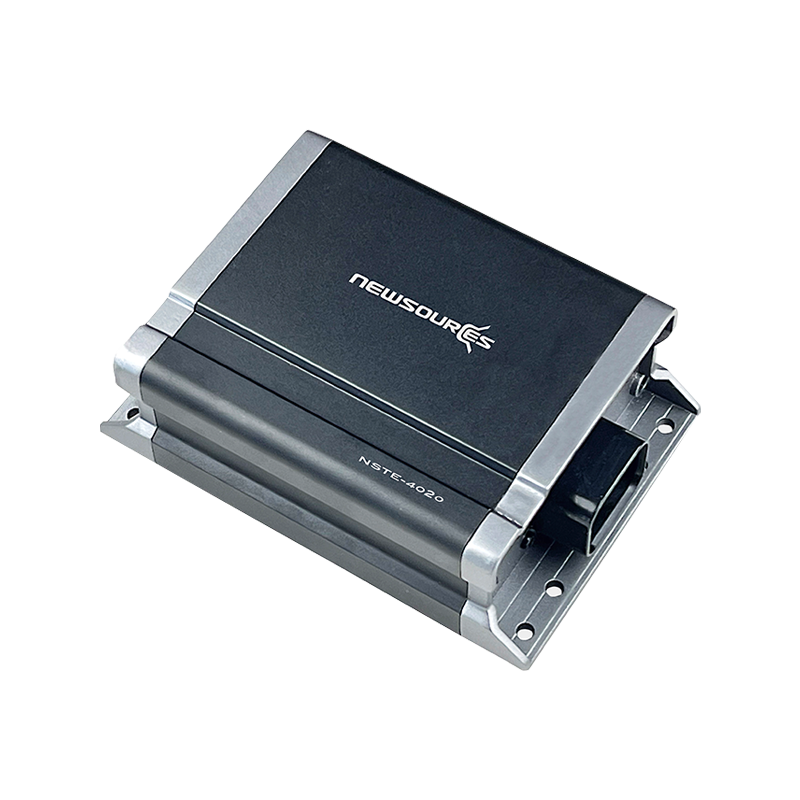
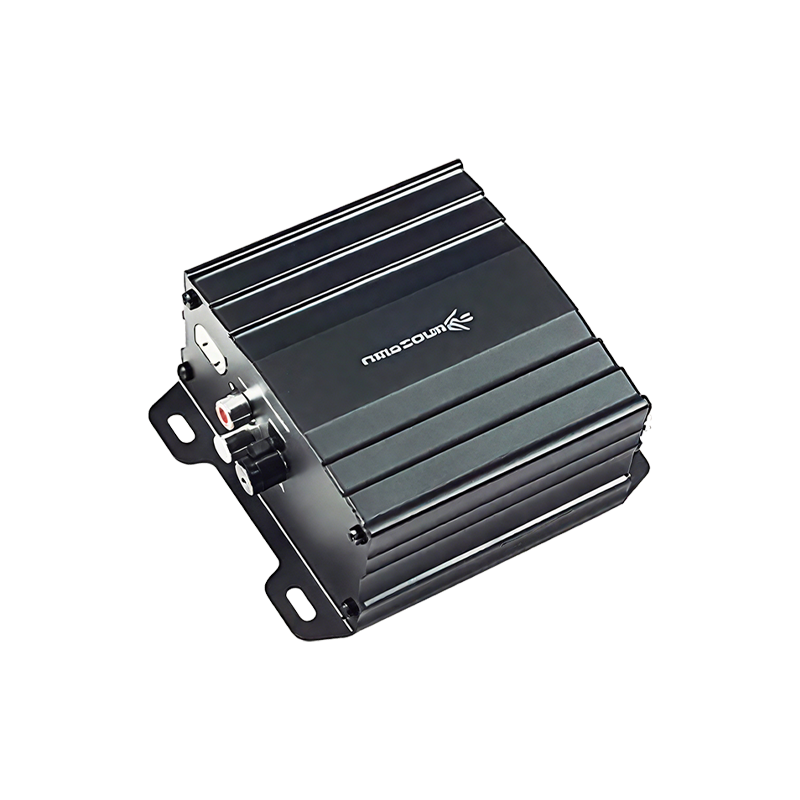
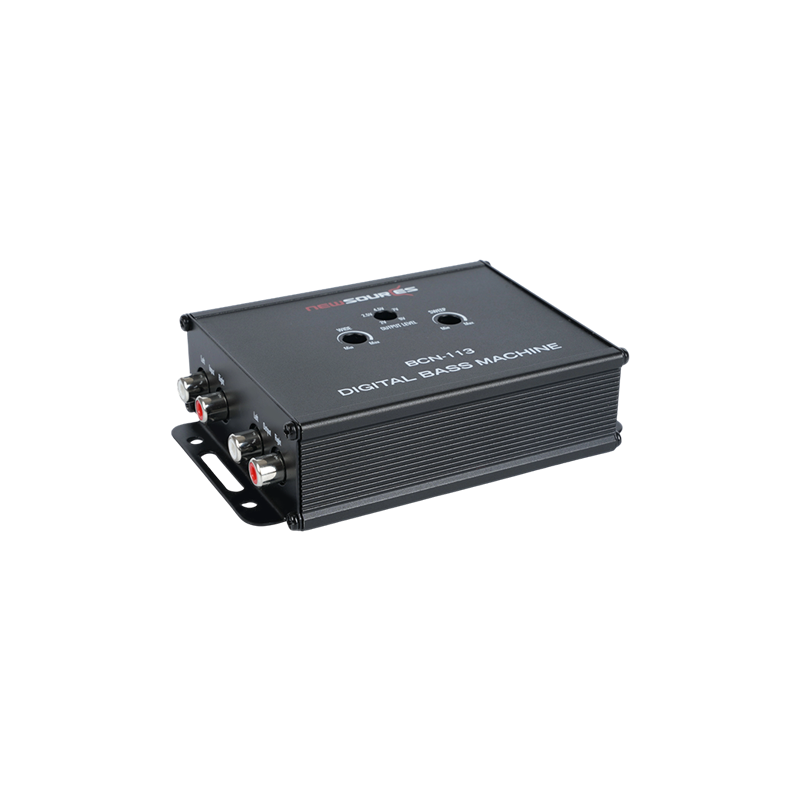
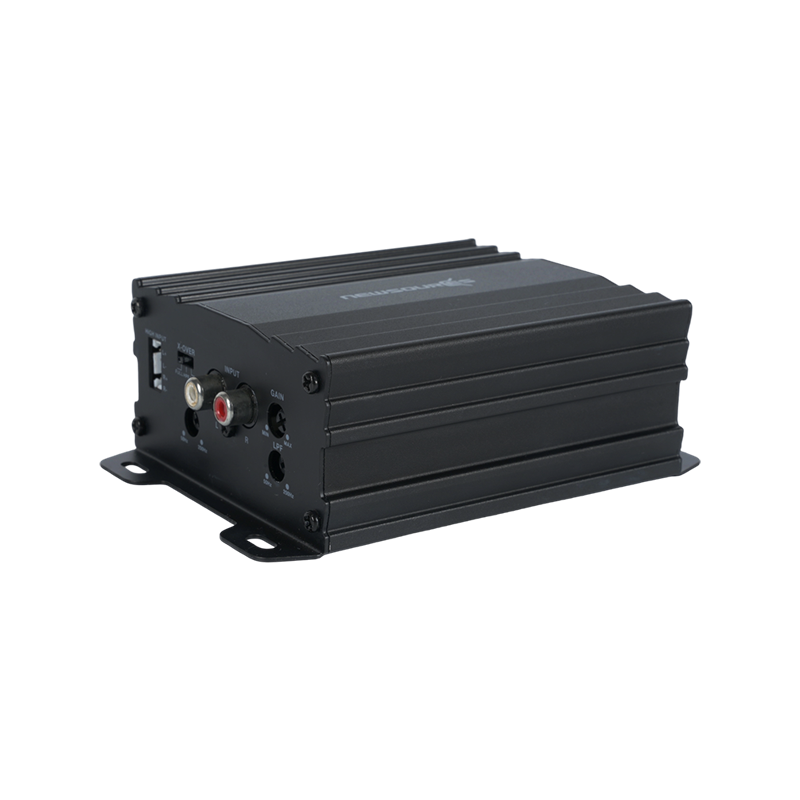
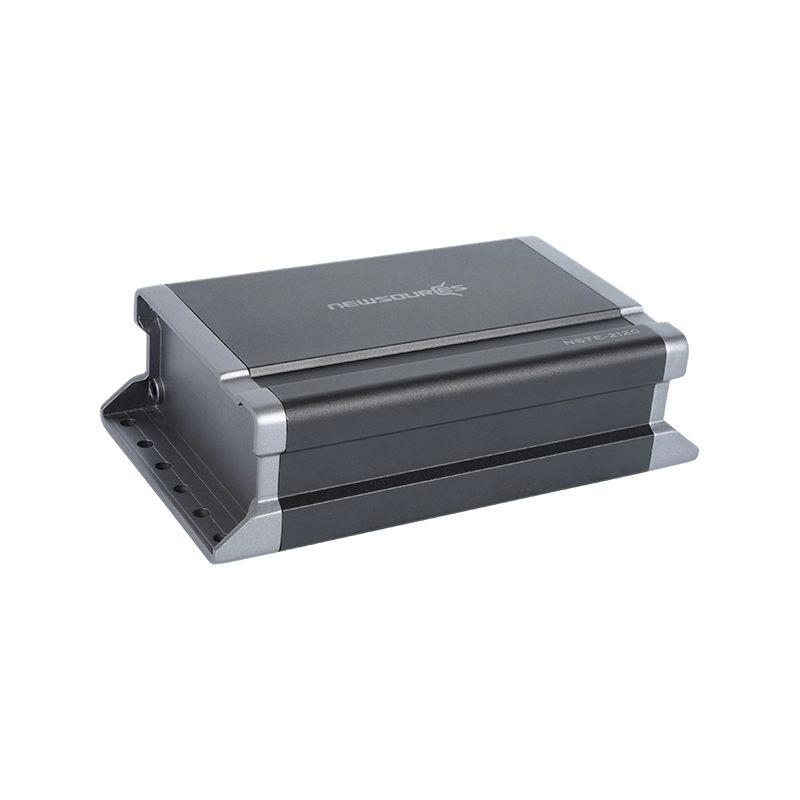
A mini car amplifier is a compact power amplifier designed specifically for automotive audio systems, engineered to deliver meaningful signal amplification within a physical footprint significantly smaller than traditional full-size amplifiers. While a conventional car amplifier might measure 40–60cm in length and require substantial mounting space under seats or in the trunk, a mini car amplifier typically occupies a fraction of that space — often fitting comfortably behind a dashboard panel, inside a center console, or directly beneath a seat without occupying the full undercarriage area. This reduction in size does not necessarily mean a reduction in performance; advances in Class D amplifier topology and surface-mount component technology have made it possible to achieve impressive power output levels and audio fidelity from enclosures that would have seemed impossibly small just two decades ago.
The appeal of the mini car amplifier extends well beyond simple space saving. Modern vehicles — particularly compact cars, motorcycles with sidecar audio setups, boats, RVs, and custom builds — often lack the physical space to accommodate traditional amplifier installations without significant modification. A mini amplifier solves this problem directly, enabling meaningful audio upgrades in vehicles where full-size units simply cannot be practically installed. For daily drivers where trunk space is valued for cargo, the ability to hide a capable amplifier under a seat or behind a trim panel without sacrificing usable space represents a genuine quality-of-life improvement alongside the sonic benefits.
How Mini Car Amplifiers Work: Class D Technology Explained
The vast majority of mini car amplifiers use Class D amplifier topology, which is the technological foundation that makes compact, high-power automotive amplification practical. Understanding how Class D differs from older amplifier classes helps explain why it dominates the mini amplifier market and what trade-offs, if any, it involves.
In a Class D amplifier, the output transistors operate as high-speed electronic switches rather than as linear devices. The audio signal is converted into a pulse-width modulated (PWM) signal — a rapidly switching square wave whose pulse width varies in proportion to the instantaneous amplitude of the audio signal. These pulses switch the output transistors fully on and fully off at frequencies typically between 200kHz and 500kHz, far above the audible range. A low-pass output filter then reconstructs the original audio waveform from the switching signal before it reaches the speakers. Because the output transistors spend virtually no time in their linear (partially conducting) region, power dissipation as heat is dramatically reduced compared to Class A or Class AB designs. Efficiency figures of 85–95% are typical for well-designed Class D stages, compared to 50–70% for Class AB. This high efficiency means less heat generated per watt of output, which in turn means smaller heatsinks, smaller enclosures, and the compact dimensions that define the mini amplifier category.
Common Channel Configurations and What Each Is Best For
Mini car amplifiers are available in several channel configurations, each suited to different audio system architectures. Selecting the correct configuration for your specific installation is more important than raw power specification alone.
| Configuration | Typical RMS Output | Best Application | Bridgeable |
| Mono (1-channel) | 100–500W | Subwoofer / bass only | N/A (already mono) |
| 2-Channel | 40–150W per channel | Front or rear speakers | Yes — drives one sub |
| 4-Channel | 30–100W per channel | Full speaker system | Yes — 2-ch bridged for sub |
| 5-Channel | 40–80W x4 + 200–400W x1 | Full system + sub in one unit | Integrated mono channel |
The mono configuration is the most common choice when the primary goal is adding a subwoofer to an existing factory or aftermarket head unit system. Mono amplifiers are specifically optimized for low-frequency reproduction, often incorporating built-in subsonic filters and bass boost controls that allow fine-tuning of the subwoofer's response without additional processing equipment. The 4-channel configuration is the most versatile for complete system builds, providing dedicated amplification for all four main speakers while the bridging capability allows two channels to be combined into a single higher-power mono output for a subwoofer. The 5-channel mini amplifier represents the ultimate space-saving solution — a single compact unit that can drive an entire audio system including a subwoofer, eliminating the need for multiple amplifiers and the associated wiring complexity.
Key Specifications to Evaluate Before Buying
The amplifier market is saturated with products making power claims that bear little relationship to real-world performance. Knowing which specifications actually matter — and how to read them critically — protects against purchasing disappointment and ensures the amplifier you select will genuinely improve your audio system.
RMS Power vs. Peak Power
RMS (root mean square) power is the continuous power output an amplifier can sustain indefinitely at a specified distortion level, typically measured at 1% THD (total harmonic distortion) into a defined load impedance. Peak power figures represent momentary maximum output under ideal and unrealistic conditions and are largely meaningless for practical comparison. Always evaluate amplifiers based on their rated RMS output, measured at the same impedance (typically 4 ohms for speaker channels, 2 or 1 ohm for mono subwoofer channels) and the same distortion specification. A mini amplifier honestly rated at 50W RMS per channel at 4 ohms and 1% THD will outperform a competitor claiming 200W peak through the same speakers in any real listening situation.
Signal-to-Noise Ratio and THD
Signal-to-noise ratio (SNR) measures the level of the amplifier's output signal relative to the background noise floor, expressed in decibels. Higher values indicate a quieter amplifier — a figure of 85dB or above is acceptable for car audio, while better-quality mini amplifiers achieve 95dB or higher. Total harmonic distortion (THD) measures the level of harmonic artifacts added to the signal by the amplification process. Lower THD figures indicate cleaner amplification; look for THD below 0.1% at rated power for a quality result. Both specifications directly affect how clean and natural the amplified audio sounds at typical listening volumes.
Input Sensitivity and Gain Control
Input sensitivity defines the range of input signal voltages the amplifier can accept and amplify to its rated output. Mini car amplifiers designed for integration with factory head units must accommodate the relatively low preamp output levels — typically 0.2V to 2V — common in OEM systems, while amplifiers intended for aftermarket head units may be optimized for higher preamp outputs of 2V to 5V or more. A wide input sensitivity range with a continuously adjustable gain control gives the greatest installation flexibility and makes it possible to achieve a properly matched signal level between the source unit and amplifier without introducing excess noise.
Installation Essentials for Mini Car Amplifiers
Even the best mini car amplifier will underperform or fail prematurely if installed incorrectly. The compact size of these units makes them easier to physically place, but the electrical installation requirements remain identical to those of full-size amplifiers and must be followed carefully to ensure safe, reliable, and high-quality operation.
- Power wiring gauge: Match the power and ground wire gauge to the amplifier's maximum current draw. A mini amplifier rated at 300W RMS will draw approximately 25–30 amps from a 12V supply at full output; use at minimum 8-gauge wiring for runs up to 4 meters, and 4-gauge for longer runs or higher-powered units.
- Fuse protection: Install an in-line fuse on the power wire as close to the battery as possible — within 45cm is the standard recommendation. The fuse rating should match the amplifier's maximum current draw, not the wire's maximum capacity. This fuse protects the vehicle's wiring in the event of a short circuit.
- Ground connection quality: A poor ground connection is the single most common cause of noise, instability, and power limitation in car audio systems. Connect the ground wire directly to a bare metal chassis point — remove paint or corrosion from the contact area and use a star washer to ensure metal-to-metal contact. Keep the ground wire as short as possible.
- Signal cable routing: Route RCA interconnect cables along the opposite side of the vehicle from the power cables to minimize the risk of electrical interference (alternator whine, ignition noise) being induced into the signal path. Use high-quality shielded RCA cables rated for automotive use.
- Ventilation clearance: Even highly efficient Class D mini amplifiers generate some heat during operation. Ensure the mounting location provides at least 2–3cm of air clearance around the amplifier's heatsink surfaces. Avoid enclosing the amplifier in an airtight space where heat will accumulate and trigger thermal protection shutdowns.
- Gain setting procedure: Set the amplifier's gain using a multimeter or oscilloscope rather than by ear. Set the head unit to approximately 75–80% of its maximum volume, play a test tone at the listening level you typically use, and adjust the amplifier gain until the output just begins to clip, then back off slightly. This procedure maximizes dynamic range while minimizing distortion.
Best Use Scenarios: Matching a Mini Amplifier to Your System Goals
Different listeners upgrade their car audio for different reasons, and the right mini amplifier choice depends heavily on what specific improvement you are seeking from your system. Identifying your primary goal before shopping prevents overspending on features you do not need while ensuring you do not underspecify an amplifier that will limit your results.
Upgrading Factory Speakers Without Replacing the Head Unit
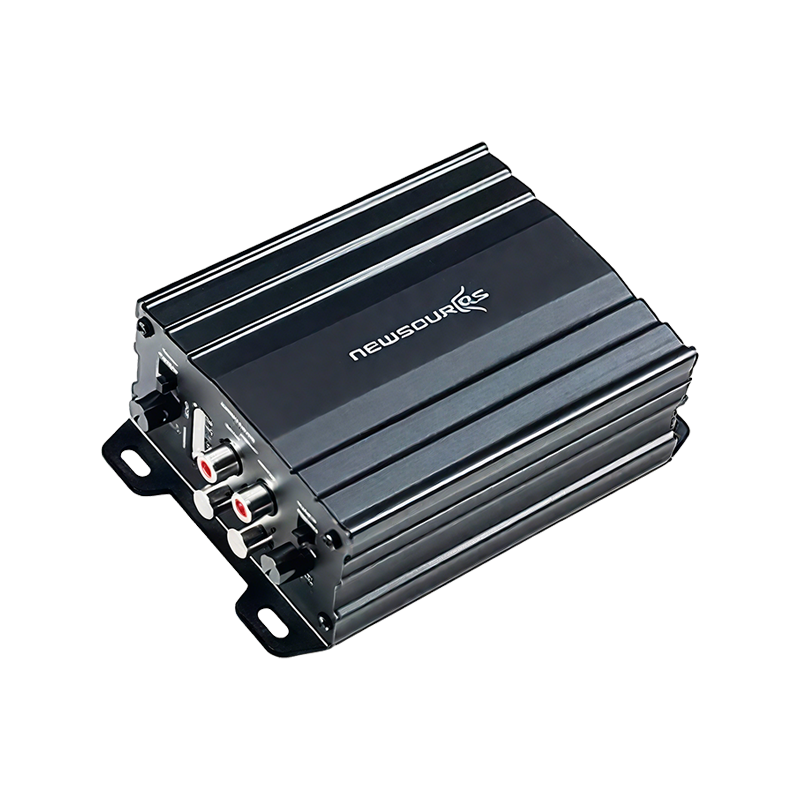
This is the most common mini amplifier use case. Factory head units typically provide 15–22W RMS per channel to speakers, which is insufficient to drive quality aftermarket speakers to their full potential. A 4-channel mini amplifier with high-level (speaker-level) inputs — which allow connection directly to the factory speaker outputs without requiring RCA preamp outputs — can provide 50–75W RMS per channel to upgraded speakers, transforming the listening experience without touching the factory head unit or infotainment system. This approach is particularly valued in vehicles where retaining the factory head unit is important for maintaining steering wheel controls, backup camera integration, or navigation system functionality.
Adding a Powered Subwoofer to a Compact Vehicle
In compact cars, hatchbacks, and sports cars where trunk space is at a premium, a mono mini amplifier paired with a shallow-mount subwoofer in a slim enclosure can add genuine low-frequency impact without consuming meaningful cargo space. Mono mini amplifiers delivering 150–300W RMS into a 2-ohm load are well-matched to 8-inch or 10-inch shallow-mount subwoofers, providing enough bass output to satisfy most listeners in a compact vehicle's acoustic environment without the bulk of traditional subwoofer installations.
Motorcycle, Marine, and Powersports Applications
Mini car amplifiers are the natural choice for audio systems in motorcycles, ATVs, boats, and other powersports applications where both space and weather exposure are significant constraints. Purpose-built marine-grade mini amplifiers add conformal coating on circuit boards, corrosion-resistant connectors, and UV-stabilized enclosures to the standard compact form factor, enabling reliable operation in environments that would quickly destroy standard automotive electronics. For motorcycle handlebar-mounted speaker systems or boat helm audio installations, a weatherproof mini amplifier provides the power needed to overcome wind and engine noise at cruising speeds without requiring large enclosures incompatible with the available mounting space.
Common Problems and How to Diagnose Them
Even well-specified and correctly installed mini car amplifiers occasionally develop problems during their service life. Understanding the most common failure modes and their likely causes enables faster diagnosis and often allows issues to be resolved without professional service.
- Amplifier goes into protection mode (red or flashing LED): The most common causes are speaker load impedance below the amplifier's minimum rating, a short circuit in the speaker wiring, insufficient power or ground wire gauge causing voltage drop under load, or inadequate ventilation causing thermal shutdown. Check each of these systematically before concluding the amplifier has an internal fault.
- Alternator whine audible through speakers: This high-pitched noise that rises and falls with engine speed indicates a ground loop or poor ground connection in the signal path. Verify that the amplifier and head unit share a common ground point, check that RCA cables are routed away from power cables, and consider installing a ground loop isolator on the RCA signal path as a corrective measure.
- Distorted audio at moderate volume: This symptom almost always indicates incorrect gain setting — either the amplifier gain is set too high relative to the head unit output, causing clipping at the amplifier input, or the head unit volume is being driven beyond its clean output range. Re-set the gain using the systematic procedure described in the installation section.
- No output from one or more channels: Check the speaker wiring for open circuits or incorrect polarity connections that might cause channel cancellation. Verify the crossover settings — if a high-pass filter is set too high, it may be cutting the signal entirely for the frequency range the speaker is reproducing. Swap RCA inputs to isolate whether the fault is in the source signal or the amplifier channel itself.
A mini car amplifier represents one of the most cost-effective and practically achievable upgrades available to any vehicle audio system. When selected with attention to honest power ratings, appropriate channel configuration, and compatibility with the existing system, and installed with care given to power wiring, grounding, and signal routing, a compact amplifier delivers a transformation in audio quality that far exceeds what its modest physical dimensions might suggest. The combination of modern Class D efficiency, increasingly sophisticated built-in signal processing, and a form factor that fits practically anywhere makes the mini car amplifier the logical starting point for any serious in-car audio upgrade project.